The subject changes identity
Faces, clothing, and small objects may drift when the shot contains too much movement or too many characters.
Workaround: use one main subject, repeat its defining traits, and reduce the camera movement.
BEGINNER TUTORIAL / VIDEO WORKFLOW
This practical guide shows how to use Vidu AI from your first prompt to a cleaner, more consistent video result. Start simple, review each generation, and improve one variable at a time.
Start creating ↗01 / BEFORE YOU GENERATE
Before learning how to use Vidu AI, prepare a short idea and decide what the finished clip should communicate. A clear subject, action, camera direction, and visual mood give the model useful constraints. You do not need filmmaking experience, but you do need an input that is specific enough to guide the generation.
For beginners, the easiest starting point is a short text prompt or one strong reference image. If your goal is to animate an existing illustration or photo, the Vidu image to video workflow → is usually more direct than describing every visual detail from scratch.
02 / THE CORE WORKFLOW
Keep your first test short and focused. Once the motion works, refine the look and extend the idea.
Choose text-to-video or an image-led mode, then describe the subject, setting, action, camera movement, and atmosphere in plain language. One shot should usually contain one dominant action.
Run several variations instead of judging the first result as final. Compare motion, framing, subject consistency, and prompt accuracy. Small changes often produce larger improvements than a completely new prompt.
Keep the strongest take, adjust one weak element, and generate again. When the clips feel reliable, place them in sequence, trim awkward openings, and add sound or captions in your editor.
Beginners often get better results by separating creative decisions. First make the movement believable, then improve the visual style. If you prefer to describe the scene entirely in words, compare this workflow with Vidu AI text to video → before choosing your starting point.
03 / TROUBLESHOOTING
Most disappointing outputs come from overloaded prompts, weak inputs, or expectations that exceed a short clip.
Faces, clothing, and small objects may drift when the shot contains too much movement or too many characters.
Workaround: use one main subject, repeat its defining traits, and reduce the camera movement.
Long sequences with several actions can cause extra limbs, abrupt transitions, or motion that does not match the prompt.
Workaround: describe one action with a clear beginning and end, then create separate clips for the next beat.
An image-to-video input can preserve the composition so strongly that the result barely moves.
Workaround: specify visible motion such as hair moving in wind, a slow push-in, turning fabric, or a subject walking forward.
Abstract phrases and crowded style references can compete with the actual subject and action.
Workaround: put the subject and action first, use concrete visual language, and remove modifiers that do not affect the shot.
04 / IMPROVEMENT LOOP
Once you understand how to use Vidu AI for a single shot, build consistency through controlled experiments. Change only one part of a prompt between attempts so you can identify what helped. Keep a useful phrase library for camera movement, lighting, pacing, and subject behavior, but avoid stacking every phrase into one request.
For a stronger sequence, keep the same character description and visual palette across prompts. Use matching aspect ratios, similar shot lengths, and deliberate transitions. A reference image can anchor appearance, while a text prompt can clarify the movement. This combination is especially useful when moving from a concept frame to a short narrative scene.
Try a guided workflow ↗

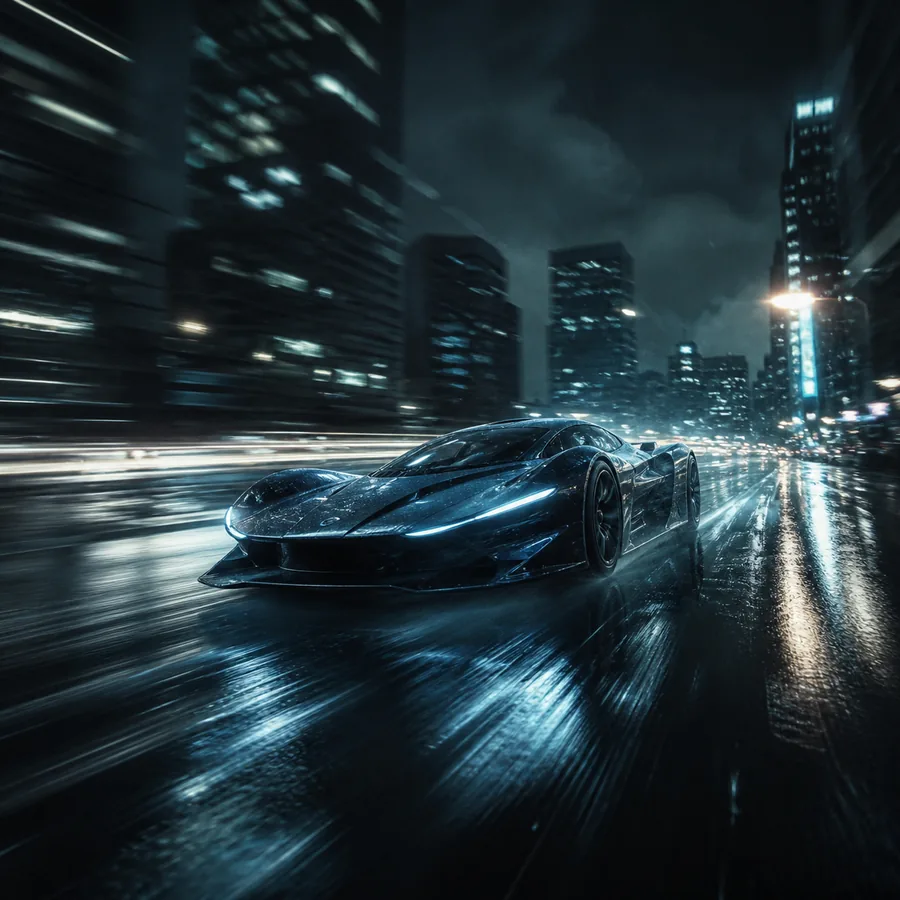
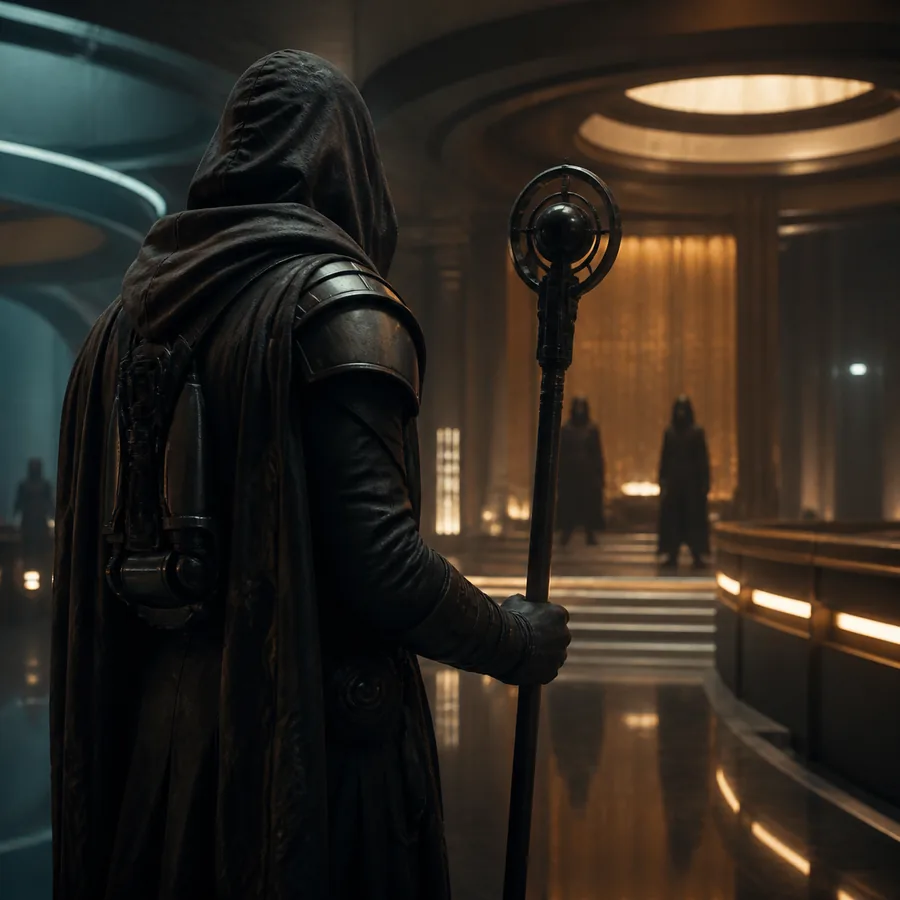
The goal is not to add more words; it is to make the intended subject, movement, and visual direction easier for the model to follow.
05 / HOW THE FORMAT EVOLVED
These answers address the questions beginners most often ask when starting with Vidu AI and planning their first usable clip.
Start with one short shot, one subject, and one action. Choose either a simple text prompt or a clear reference image, generate several variations, and refine the strongest result instead of trying to create a complete film at once.
Describe the subject, action, setting, camera behavior, lighting, and mood. For example, state who or what is visible, what it is doing, how the camera moves, and what visual atmosphere you want.
It can be easier when appearance and composition matter because the image supplies a visual starting point. Text-to-video is useful when you are still exploring an idea or do not have a suitable source image.
Unclear prompts, too many actions, fast camera movement, and complex interactions can all reduce consistency. Simplify the scene, shorten the action, and change one instruction at a time.
Review outputs critically, save successful prompt patterns, use consistent references, and edit multiple short clips together. The best results usually come from an iterative workflow rather than one perfect request.
Vidu AI helped make prompt-led video experiments accessible without a traditional production setup.
Creators began combining images with motion instructions to preserve a stronger visual starting point.
Rather than expecting one finished generation, beginners learned to compare variations and build sequences from selected shots.
Clear inputs, restrained motion, and thoughtful editing still provide the best foundation for new creators.